Final departure VH-NFP
NFP was graciously dismantled by Hamish Ramsay and me at YSCB (Canberra International Airport), and trailered back to YWGT (Wangaratta) for safe keeping (actually cannibalisation).
Since the landing gear was intact we were able to tow the aircraft to a hangar out of the rain and under artificial lighting so we were able to work late into the night.
The first step was to remove the engine cowling and connect a hydraulic lift crane to the engine lifting hook to stabilise the aircraft while we jacked the main wing from the jack-points where the tie-down hooks screw in.
The aircraft was then raised off the ground sufficiently to enable the landing gear to be retracted. The nose gear doors, nose-gear, and exhaust pipe were removed and then the landing gear was retracted, albeit with a little graunching sounds as the outer gear doors straightened out.
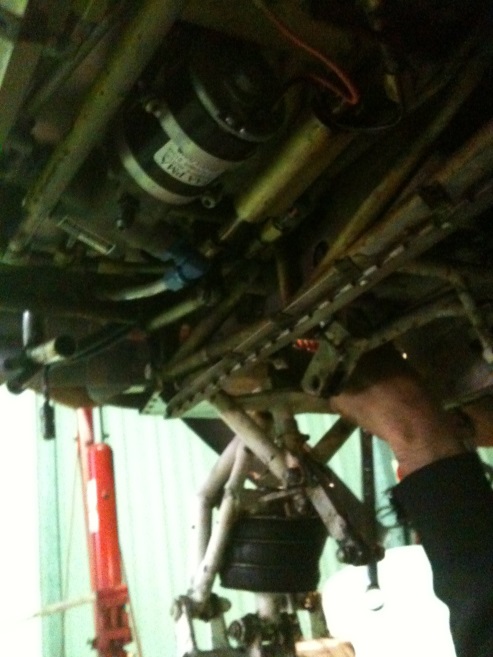
The landing gear was then held in place while being disconnected from the landing gear actuator and tied across so the gear is locked up in the wing, and the actuator was removed with the gear locked in place.
Then I removed the front and rear seats and opened the side carpet trim and lifted the rear carpet and removed lots of 100-mile-an-hour tape that covers all the gaps, so we can gain access to everything that needs to be disconnected. This was a very interesting exercise for I now know how the fuselage is connected to the wing, and how the aileron push rods enter the fuselage and what is involved in separating the main wing. While this was going on Hamish was busy removing push rods and de-riveting the wing faring top and bottom.
The passenger seat cushions are held in a plastic covered recess, which is actually the top of the wing. The main spar is under the passenger knees and there is a substantial spar cap supporting the wing force. I believe there is also a rear spar aft but didn’t see it as it is hidden underneath aluminium cladding. There are four access holes underneath the passenger seat pans, covered by square aluminium plates screwed to the cladding and again secured by 100-mile-an-hour tape; only the two outer plates need to be removed to gain access to the bolts holding the spar onto the fuselage, or is that fuselage onto the wing? There being two bolts outside the passenger seat hinge area facing rearwards on each side, two bolts on the inboard seat area, and several bolts in the floor that hold the spar to the fuselage, and two substantial bolts that point forward that hold the main spar to the steel cage that terminates level with the passenger knees, making the wing bonding to the steel cage substantive.
The fuel lines, pitot lines and a few electrical lines are disconnected from the wing, the wing faring from the fuselage, and then we are ready to separate.
The next operation is to separate the tail, and I did not see this process as I became the lunch-boy and went down the street to buy us lunch – it was about 1430 at this time, having started at 2130 the night before, and then working till we dropped, and again starting in the morning at about 0930, and working through lunch we were pretty hungry. But I can see that there is a trestle under each horizontal stabiliser, and that the airframe was balanced on the wing jacks via the engine lift crane.
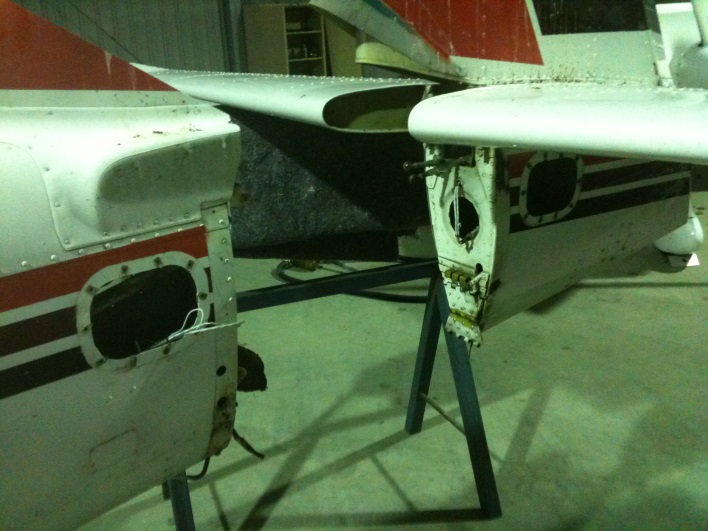
The tail is secured by a pivot hinge at the top end of the fuselage and has a safety hinge at the bottom in case the flying tail actuator breaks. Both of these and the jack-screw actuator must be disconnected. It is then a simple matter of moving the tail rearward to separate, and the whole tail can be lifted by hand and placed on a specially made tail-stand.
These attach points on the rear of the fuselage then had a lifting cable secured through them with bolts so a crane can be used to lift the rear of the fuselage for the next stage placing the fuselage on trestles. This enabled us to secure the fuselage while we lowered the wing using the wing jacks. At this point a small step ladder was placed under the rear section of the wing to prevent it rotating too far because it is trailing edge heavy.
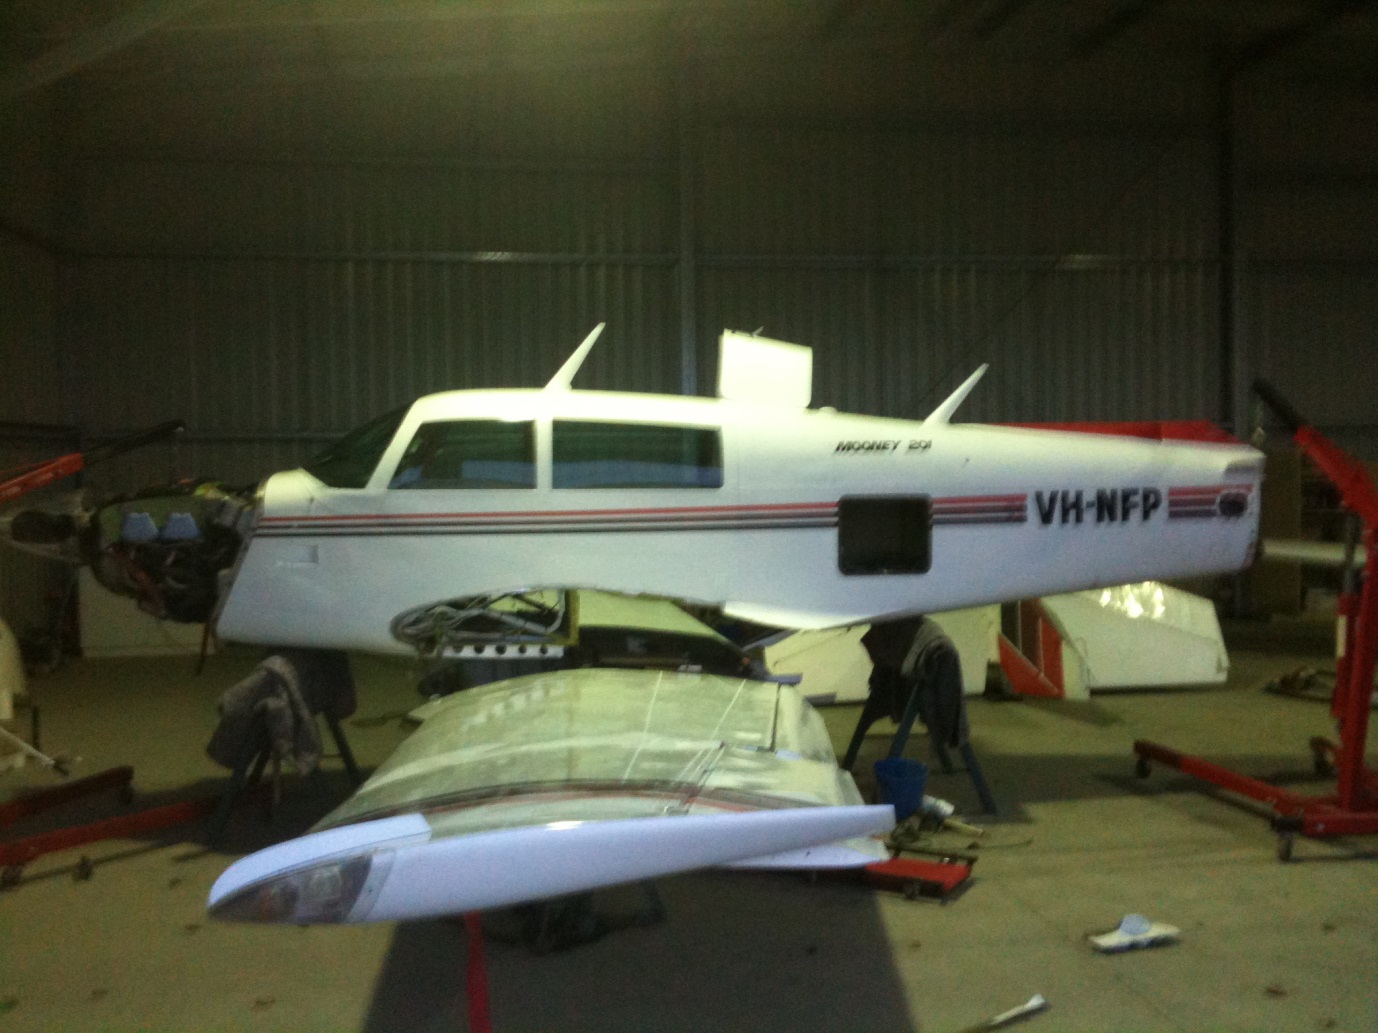
We lowered the wing enough to permit us to attach the wing frame to the wing’s fuselage attach points and we then repositioned the hydraulic cranes onto this wing frame to allow us to lower the wing in the frame to the ground where we could secure all bolts
With me holding the wing-tip inside the hangar, and both sides of the wing-frame supported via the cranes, the wing was raised sufficiently to permit the trailer to back in underneath the wing frame, and then the wing was walked along the trailer to position the wing frame at the front of the trailer with the port wing-tip extending over the roof of the tow vehicle.
At this point the fuselage was pointing 90 degrees to the trailer, so we had to lift it again with the cranes and walk them around so the tail was pointing out the hangar door. This was fairly easy to do as the fuselage was positively secured fore and aft on the crane hooks and despite being quite pendulous the cranes were easily moved by walking to rotate the fuselage around.
The next step was to raise the aircraft high enough so the fuselage frame could be placed on the trestles and the fuselage could then be manipulated over and bolted onto the frame via the main wing attach points and the tail attach points.
Then what followed involved the most physical effort that nearly wore me out. I was working the hydraulic crane on the engine end – which was pretty heavy and felt on every stroke of the pump. We had to raise the fuselage and frame to fit trestles either side under the CoG under the fuselage frame so Hamish could inch the trailer with the wing underneath the fuselage frame. This was pretty tricky for the trailer end was a little bit high and we couldn’t lift from the engine hook any higher because the crane arm was fouling on the spinner and the side of the engine. So alternative lift points had to be used on the fuselage frame: underneath with the wing jacks, and above with both crane hooks, and we just got enough lift to get one end of the frame above the end of the trailer.
From this point onwards we had to walk the cranes and push on the fuselage frame, one side at a time, to waltz it up the trailer, with Hamish providing nearly all the muscle for I could hardly move it.
It was nearly 2130 at this time but we were nearing the end, Hamish secured the load with 25,000 kg straps and I packed up bolts, tools, avionics, and assorted items and then called the Ground Operations staff to open the gate and NFP had its final departure into the night at about 5’ AGL. (Unfortunately it was too dark to take photos with my iPhone – it was such a sight seeing the aeroplane on the trailer.)
I brought my car in airside and parked it in the hangar and placed various aviation items into the back of my ute and cleaned the hangar floor.
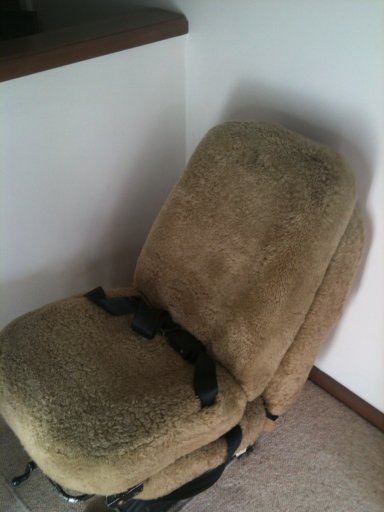
I have a set of Mooney seats at home, which I will put in the next aircraft while I send its seats off to an upholsters – or that is the idea – they are sitting in our hallway at the moment, and the funny thing is my wife hasn’t said anything about it when I thought I would get a raise from her. (Post note: I sold the seats to a Mooney owner that wanted articulating seats - in hind sight I should not have.)
While we were dismantling NFP under the hangar lighting we could see small skin crinkles above the avionics/battery bay door and along the vertical rivet lines rearward of the steel frame and again reward of the next section and above the horizontal rivet lines running down the tail, as well as a few waves near the tail tie-down area – which makes us believe that the landing was a high-G impact that whipped the tail.
Although it would be repairable with a replacement wing, and by re-skinning the empennage, I elected not to repair NFP at this stage. So it is being parted out. I made a profit parting it out, and I kept the engine, spinner, back-plate and exhaust, and that engine has been overhauled and placed in my replacement Mooney, some 6 years later. I also kept the magneto and cycle between each set so VH-URH is not out of the air due to 500 hr Magneto inspections or overhaul.
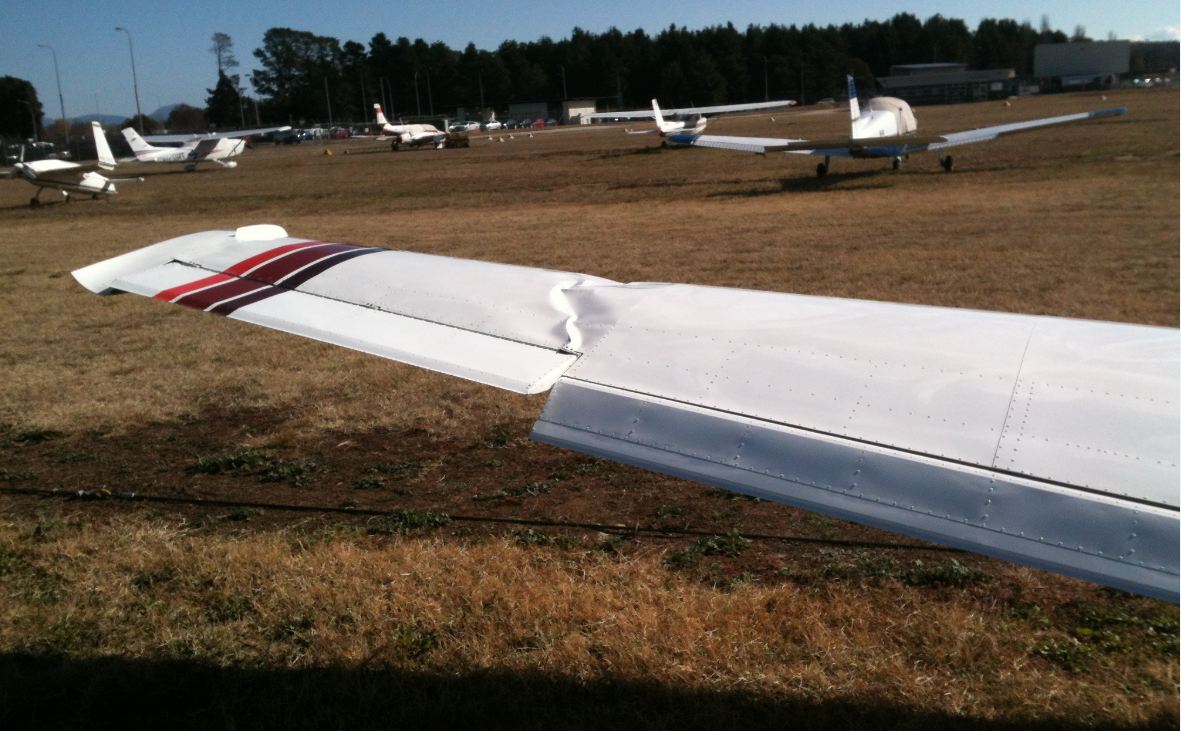
The wing was a little bent from the engine-out Sunday 02 Jun 2013 1038 EST accident when the pitot tube scraped the runway and the landing gear was still in transit because the gear doors were all bent in half and folded over, and the propeller tip got a small chunk out of both ends (it was still wind-milling). With the evidence of the crinkles in the empennage we suspect it was a 3.5G impact, but I recall flaring, wafting and then rolling on the wheels - but not any impact. There obviously was an impact because the tops of my legs were bruised from the console, and the next day I was in so much pain breathing that I ended up in Woden Hospital Emergency Department in shock and pain thinking I was having a heart attack. That was when they xray'd me and informed me that I had severely deteriorated arthritis of the entire spine from C1 to L5, including T1 and T2 affecting the nerves to my hands.
The day of the accident I was on the way to the Wagga City Aero Club monthly BBQ; it was over a year before I made it to the next BBQ!
I performed my engine-out checks 3 times during 13 seconds, all in hypertime, to no avail with adrenaline rushing so much that time just went in slow motion. The first thought was do not spin in like the video that was shown during our recent AMPA training Engine Failure on Takeoff and aeroplane spins in with plenty of runway remaining, and the next thought was the aircraft is the insurance underwriter's. Push the nose down, transit the gear, and turn the electrics and fuel off and avoid flames.
Instead, after we recovered the aeroplane from the runway, Ross Muir invited me back to his house for lunch and we talked about what happened. It was at Ross's house that I found N205BW with searches on my ipad. After looking at several J models to replace NFP I decided to go back to the first choice N205BW a 205. It took several months before the insurance company would settle and I bought NFP off them as salvage and had to pay all the parking fees and removal costs. This is where Hamish came up and we moved the wreck off the airfield. I subsequently sent Hamish Ramsay to the USA to inspect and pull N205BW apart at LASAR Lake Port, California USA, and now here we are with VH-URH after nearly 6 months getting its CoA and it up and flying on the Australian register. It only took 21 days to ship it from San Fransisco to Auckland then to Port Melbourne and the rest was with it sitting in Hamish's hangar, a period of nearly a year before I was flying again. If it were not for Hamish I would not have a replacement Mooney.
Sadly Hamish sold Ramsay Aviation and resigned from the trade after putting my aeroplane together. I gifted the old wing to him and he repaired it, and I believe the wing is back in service, and lots of other parts of NFP went all over Australia.
I flew into Wangaratta many months later and saw the shell and drilled the compliance plate off for safe keeping - but I do not know where I have put it.
My BFR was due on Wednesday 5 June 2013 so I rang Lyn Gray to explain that I was without an aircraft. Lyn convinced me to get back in the air and use one of hers for the flight test which we then booked for Friday 07 Jun 2013. The BFR was done in weather clear of cloud and with steam gauges in a Cherokee 150. I remember it getting a bit of aileron shaking when it got to speed, but otherwise it was thoroughly easy and enjoyable to fly. We used VFR techniques, the hood, with diversions, and of course a mandatory simulated engine out on the first take-off, and a dead-stick landing from down-wind on return, with Fred Fahey deliberately doing a circuit on the other side of the runway to me - I think Lyn organised that too - lol. I wanted to purchase a Cherokee so I could keep flying while waiting for my new aeroplane (VH_URH), which was just a concept at the time.
I reserved the mark and then searched, purchased and imported.